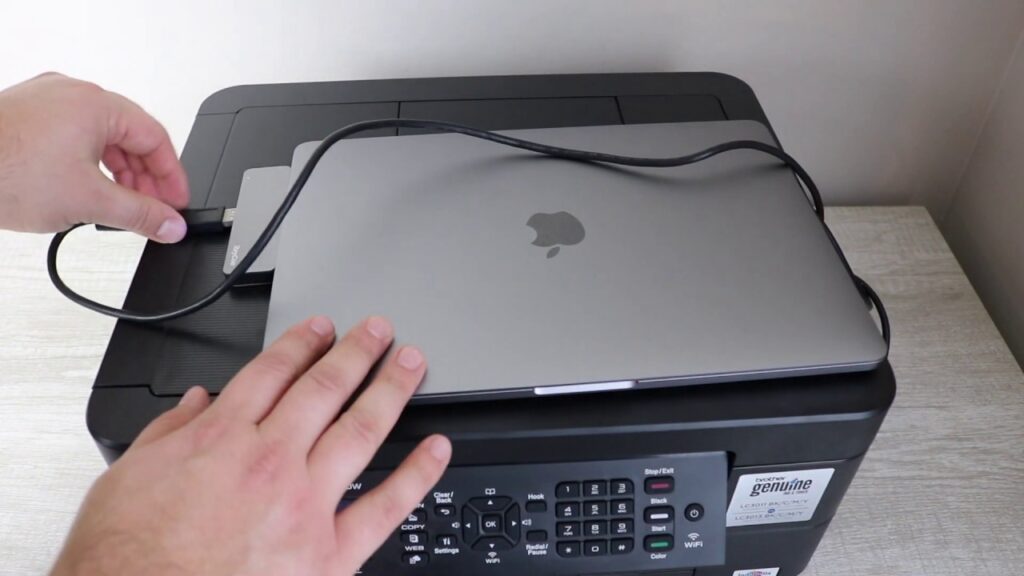
Have you been lately thinking – “how to connect my Mac to a Brother Wireless printer?” If yes, then this blog will clear all your doubts. In today’s times, a wireless printer is a blessing to our generation, In fact, whether they are Wi-Fi or Bluetooth printers, they can be kept anywhere without worrying about the clutter cables, and wires create. Brother is a significant printer brand, and connecting it to your Mac computer or laptop is a very easy process. But the steps you use can differ for Wi-Fi networks and Bluetooth pairing. Worry not, as this blog will give you all the easy setup instructions to connect your Mac device to a Brother wireless printer.
Manual Setup

Just follow the simple steps to add your Mac to a Brother Printer with the help of manual setup from the control panel using the Setup Wizard:
Note: Before we begin to learn about connecting my Mac to a Brother wireless printer, make sure to pen down the Service Set ID (SSID) or Network name and Passkey of your access point or your wireless router, whatever you are using. They are important wireless network settings details that you will need in order to complete the manual setup.
- The first thing that you have to do is press the “WiFi” Button on the touchscreen. The Wi-Fi button is a black square one. Once you do that, press on “Setup Wizard.”
- You will notice the pop-up of the question “When Enable WLAN?” there; just press “Yes.” And it will start the wireless setup wizard.
- Then your machine will search for the available SSIDs, and in just a few minutes, then a list of all the available SSIDs will be displayed. The SSID here is the same ID that you had written down earlier. Choose the SSID you wrote by swiping up or down and then press “Ok.” In case the list is not displayed, then please make sure that your access point is on. Or if it is on yet the list is not displayed, then move your machine closer to the access point.
- Now, press “Yes” to connect your Brother printer using the automatic wireless mode. You have to press the WPS button on your wireless access point or router as soon as the touchscreen instructs you to start the WPS. And then click on “Next” displayed on the screen.
- This step is only for people who are using an authentication or encryption method which requires the network key. On your touchscreen, using the numbers enter the Network key that you wrote down. Once you have entered all the characters, press “Ok.” And click on “Yes” to apply all your settings.
- Your printer machine will try now to connect with the wireless network by using the information you have entered. On your touchscreen, you will receive a connection result message, and also a WLAN report will print automatically. Lastly, press “Ok,” and your wireless setup is now complete.
Install The Printer Driver
You can follow the steps given below to connect my Mac to a Brother wireless printer:
Note- You have to upgrade your Mac computer system to Mac OS X v10.6.7, 10.7.x, 10.8x if you are a Mac OS X v10.6.7 user or any lower version.
- You have to start by putting the installation CD-ROM that you have received along with your Brother printer into your CD-ROM drive.
- On your first screen, you will see four different options. You will have to double-click on the “Start Here OSX” icon to install the printer driver. In case the printer model name is on your screen, then choose your machine.
- From the next pop-up, choose “Wireless Network Connection” from the three options displayed on your screen. And then click on “Next.”
- In case the wireless settings fail, and the Wireless Device Setup Wizard screen appears in front of you, choose your machine from the list. And then click on “Next.”
- There will be several on-screen prompts, simply follow the instructions. Please make sure that you do not cancel any of the screens during the process of installation. Also, it would take a few minutes for the installation to complete.
- In case the “Scan to” name screen appears on the Setup Network screen, then enter a name for your Mac system. Make sure that the name you enter is up to 15 characters long. After you press the scan button, the name that you have just entered will appear on the touchscreen of your printer.
- Click on “Add Printer” as soon as the Add Printer screen appears.
- Choose the name of your machine from the list that is displayed and click on “Add,” and then click on “Next.” On the next screen, you are prompted to you will find a pop-up menu with the name of your model. That name will be shown to you as “MFC-XXXX” select it. Here the installation of the MFL-Pro suite is completed.
- Lastly, on the Brother Support screen, go to Presto Page Manager’s download site by clicking on click on “Presto Page Manager” and simply follow all the on-screen instructions. The installation is completed now, and you have successfully connected your Mac to your Brother printer wirelessly.
Important: The reason why we download and install Presto! Page Manager on our Brother Control center is that it facilitates easy scanning, sharing, and organizing of photos and documents.